Campaign: Introduction
Feedback collection on Ralipo starts with Campaigns. Campaigns help you gain valuable insights about your product platform from your app users by collecting their reviews and feedbacks seamlessly.
When launching a campaign, you have the option to begin afresh or select from a range of pre-existing templates available in the Templates tab (opens in a new tab).
There are three campaign type you can create from scratch:
- Feedback
- Sync Hub
- Menu
- Reviews (coming soon)
How to create a Campaign
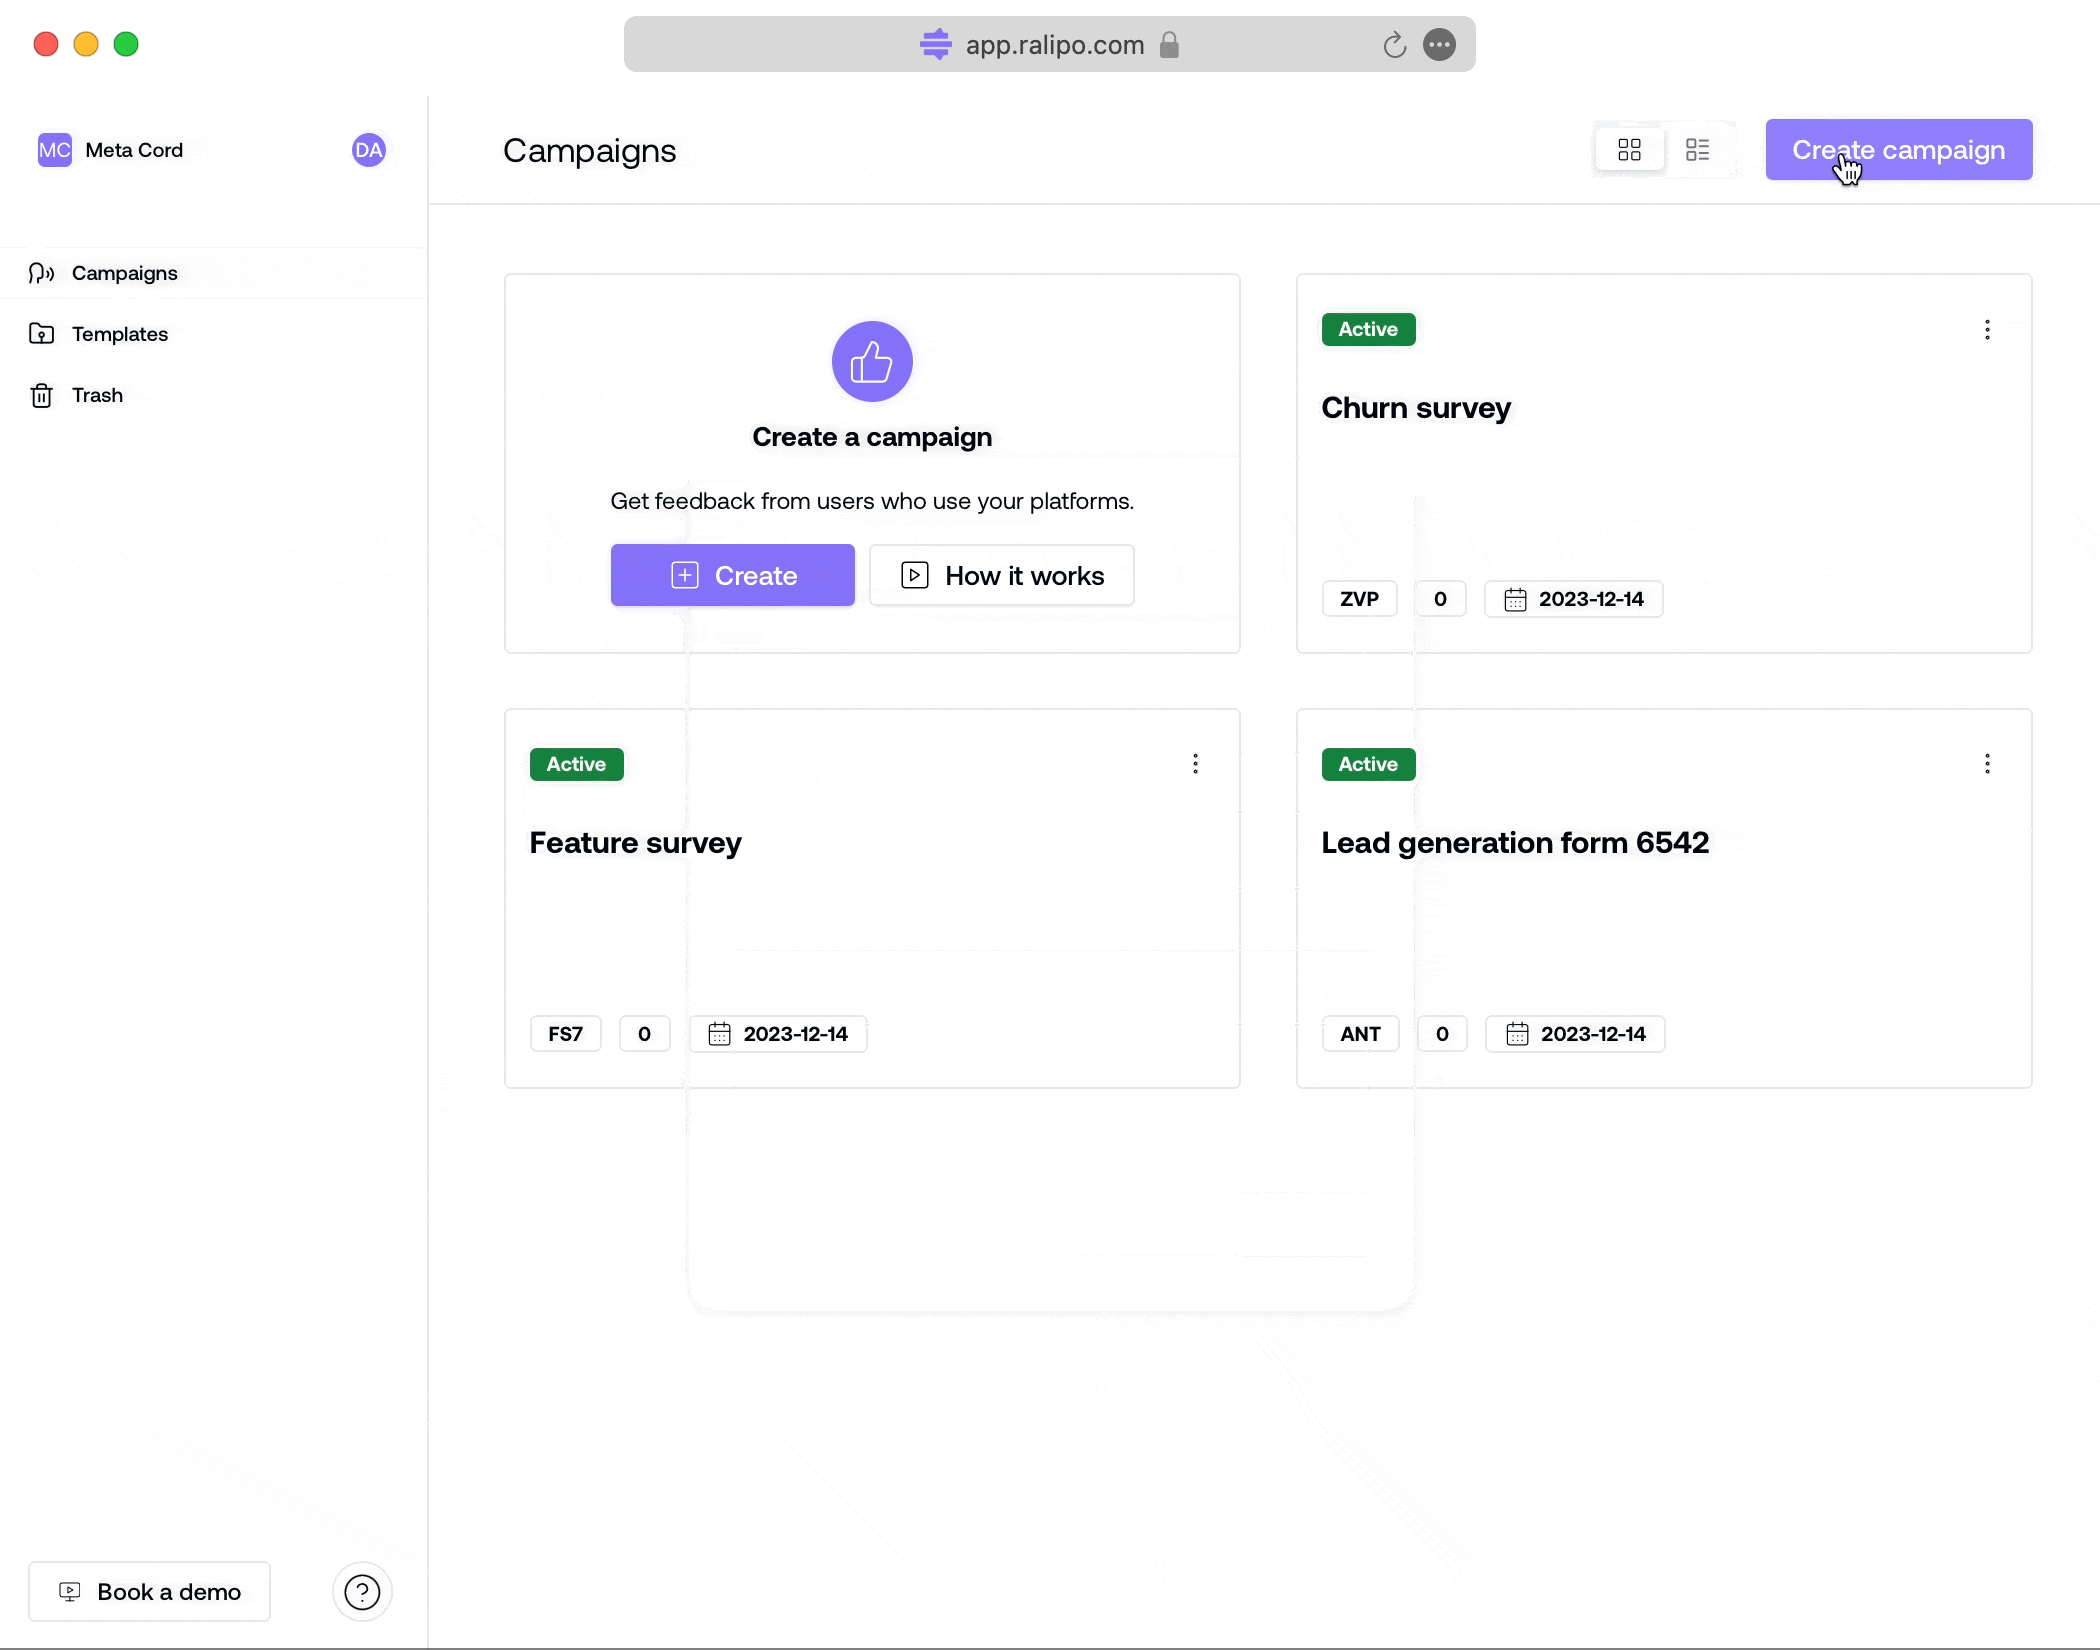
Upon logging into your Ralipo user account, you will see a well-structured dashboard along with organized menu items on the application sidebar.
To get started:
-
Click on
Campaignsby the sidebar. -
Go to
Create Campaign, displayed at the center of an empty campaign page or click on theCreate Campaignbutton at the top right corner. -
On clicking the
Create Campaignbutton, a modal form is displayed. Fill your campaign details on the form, including: Campaign name, Campaign key, Description, and Campaign Type (a dropdown field with options forFeedback type,Menu(coming soon) andReview(coming soon)). -
Once the form is complete, click the
createbutton on the form modal to add the new campaign. -
The newly created campaign will appear in the campaign section on Ralipo.
Campaign View
Campaigns created on Ralipo can be seen in two different views, either in a list or grid view.
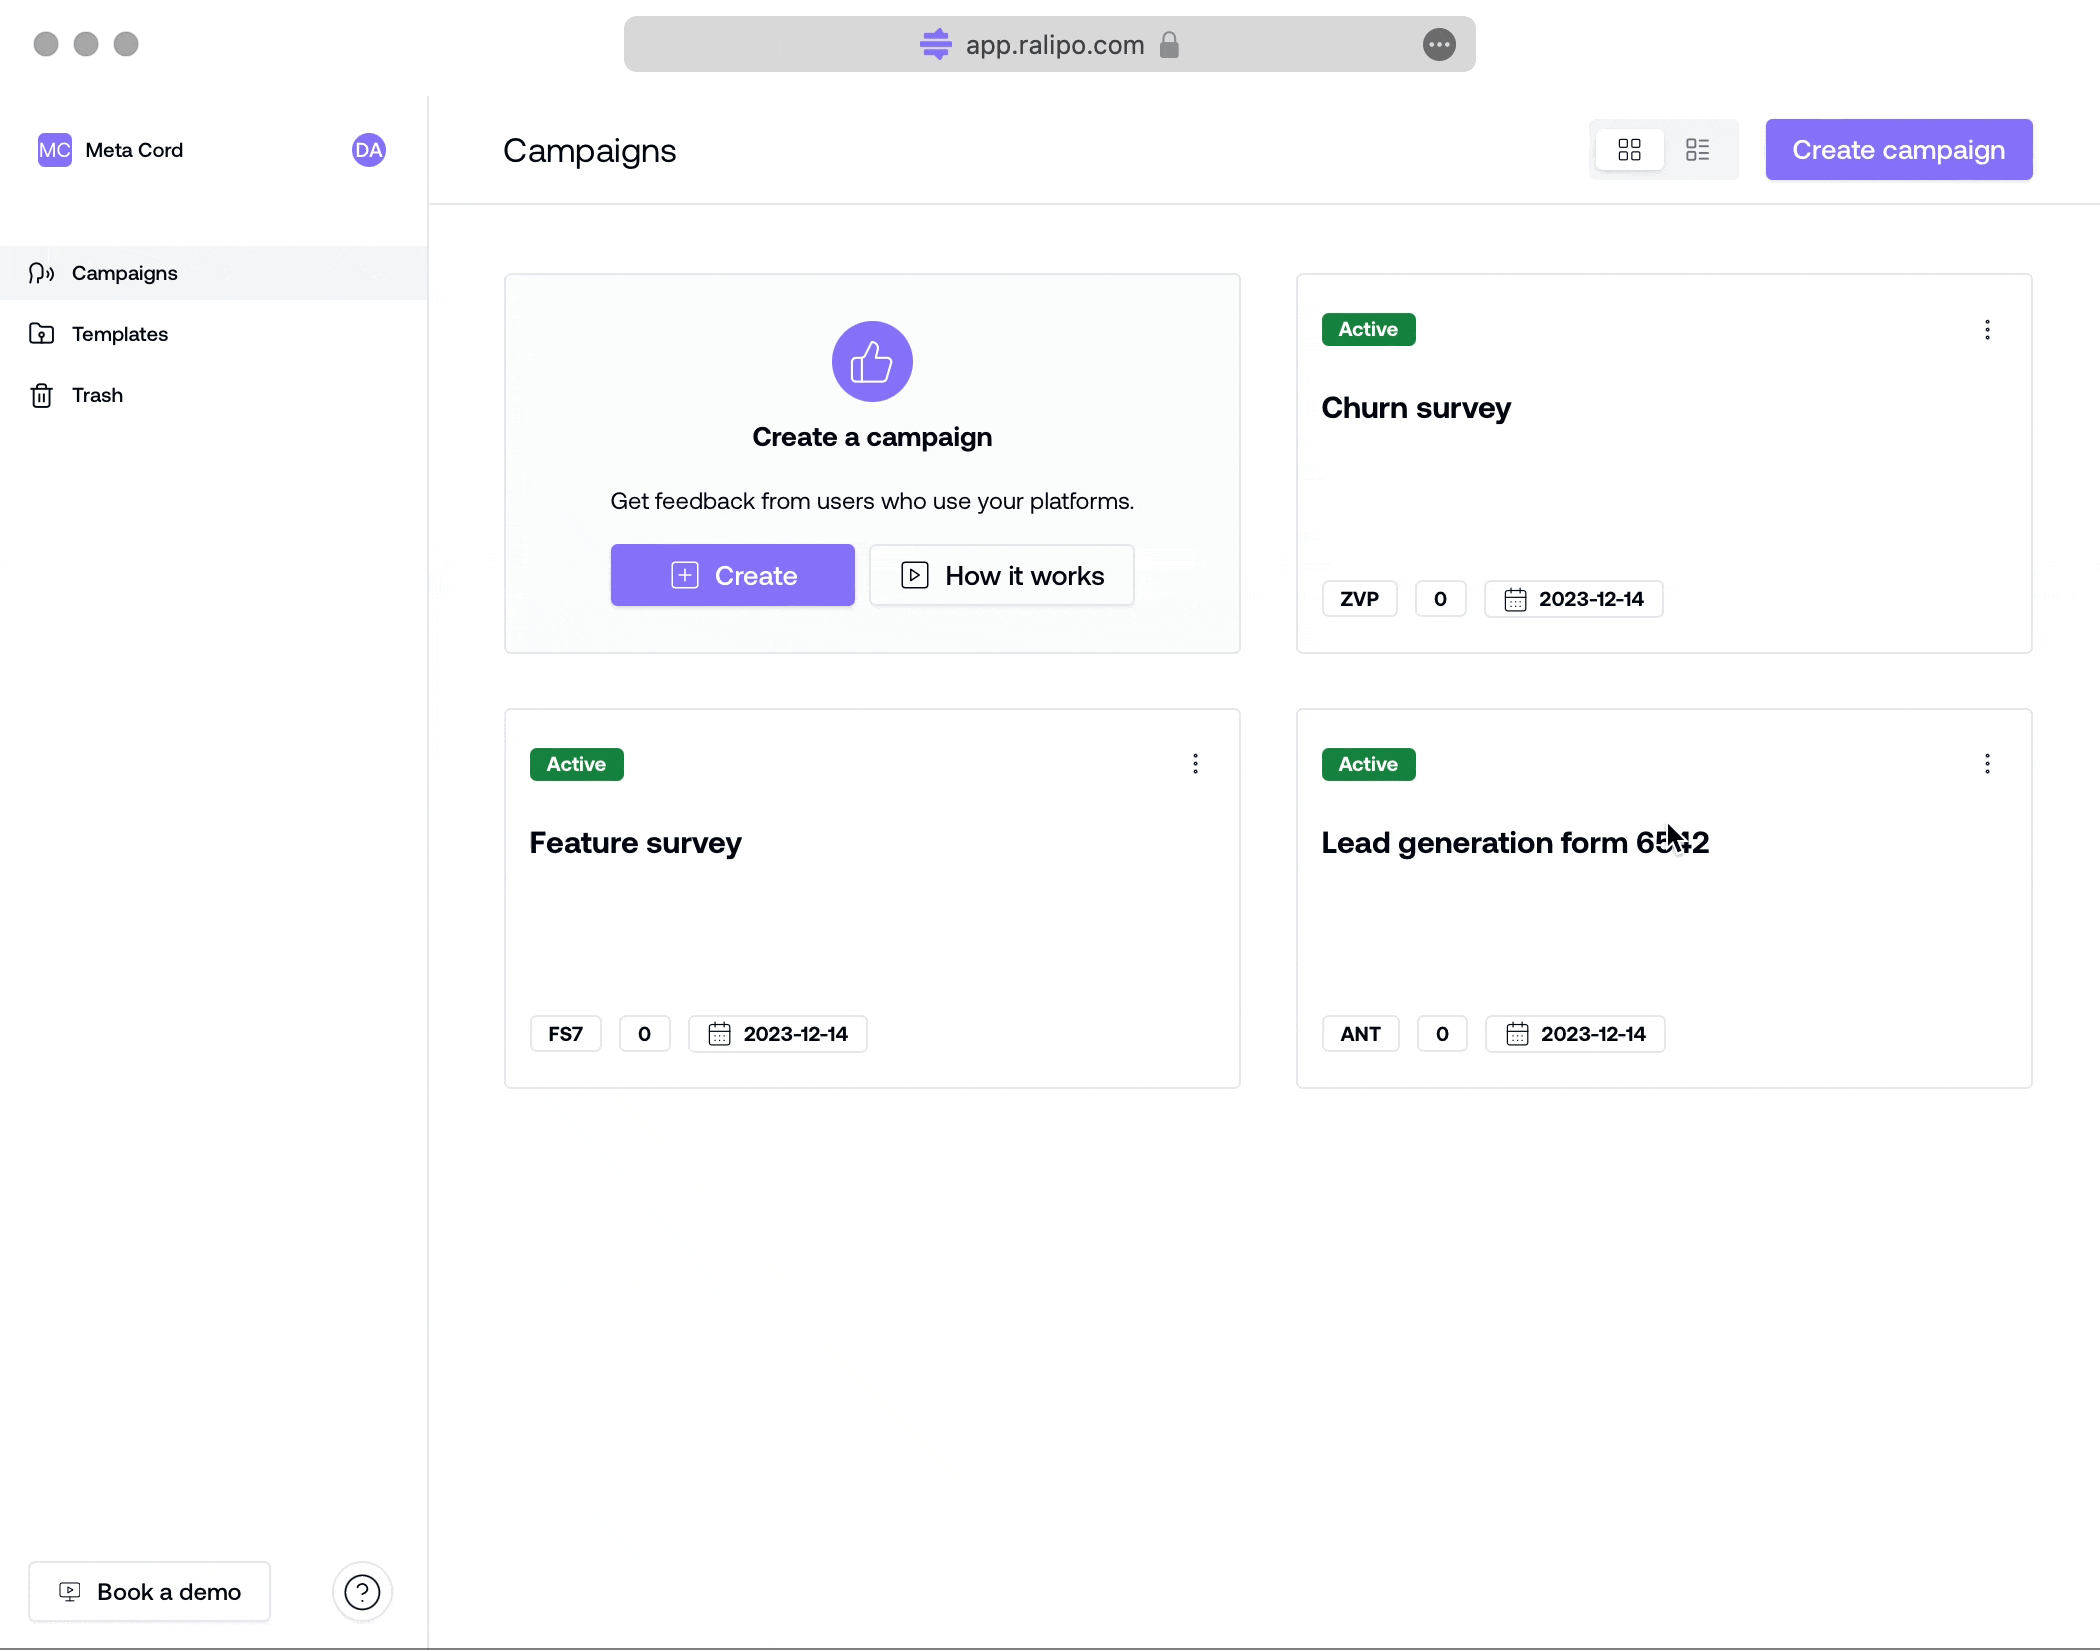
To switch between different campaign views:
- Locate the view icons at the top-right of campaigns page just before
Create Campaignbutton. - Tap on any of your choice views.
On creating a new Campaign, user can proceed to perform other actions by clicking on the Kebab menu icon (⋮)
Upon clicking the menu icon, you are presented with four major actions - View, Rename, Edit Form and Delete campaign.
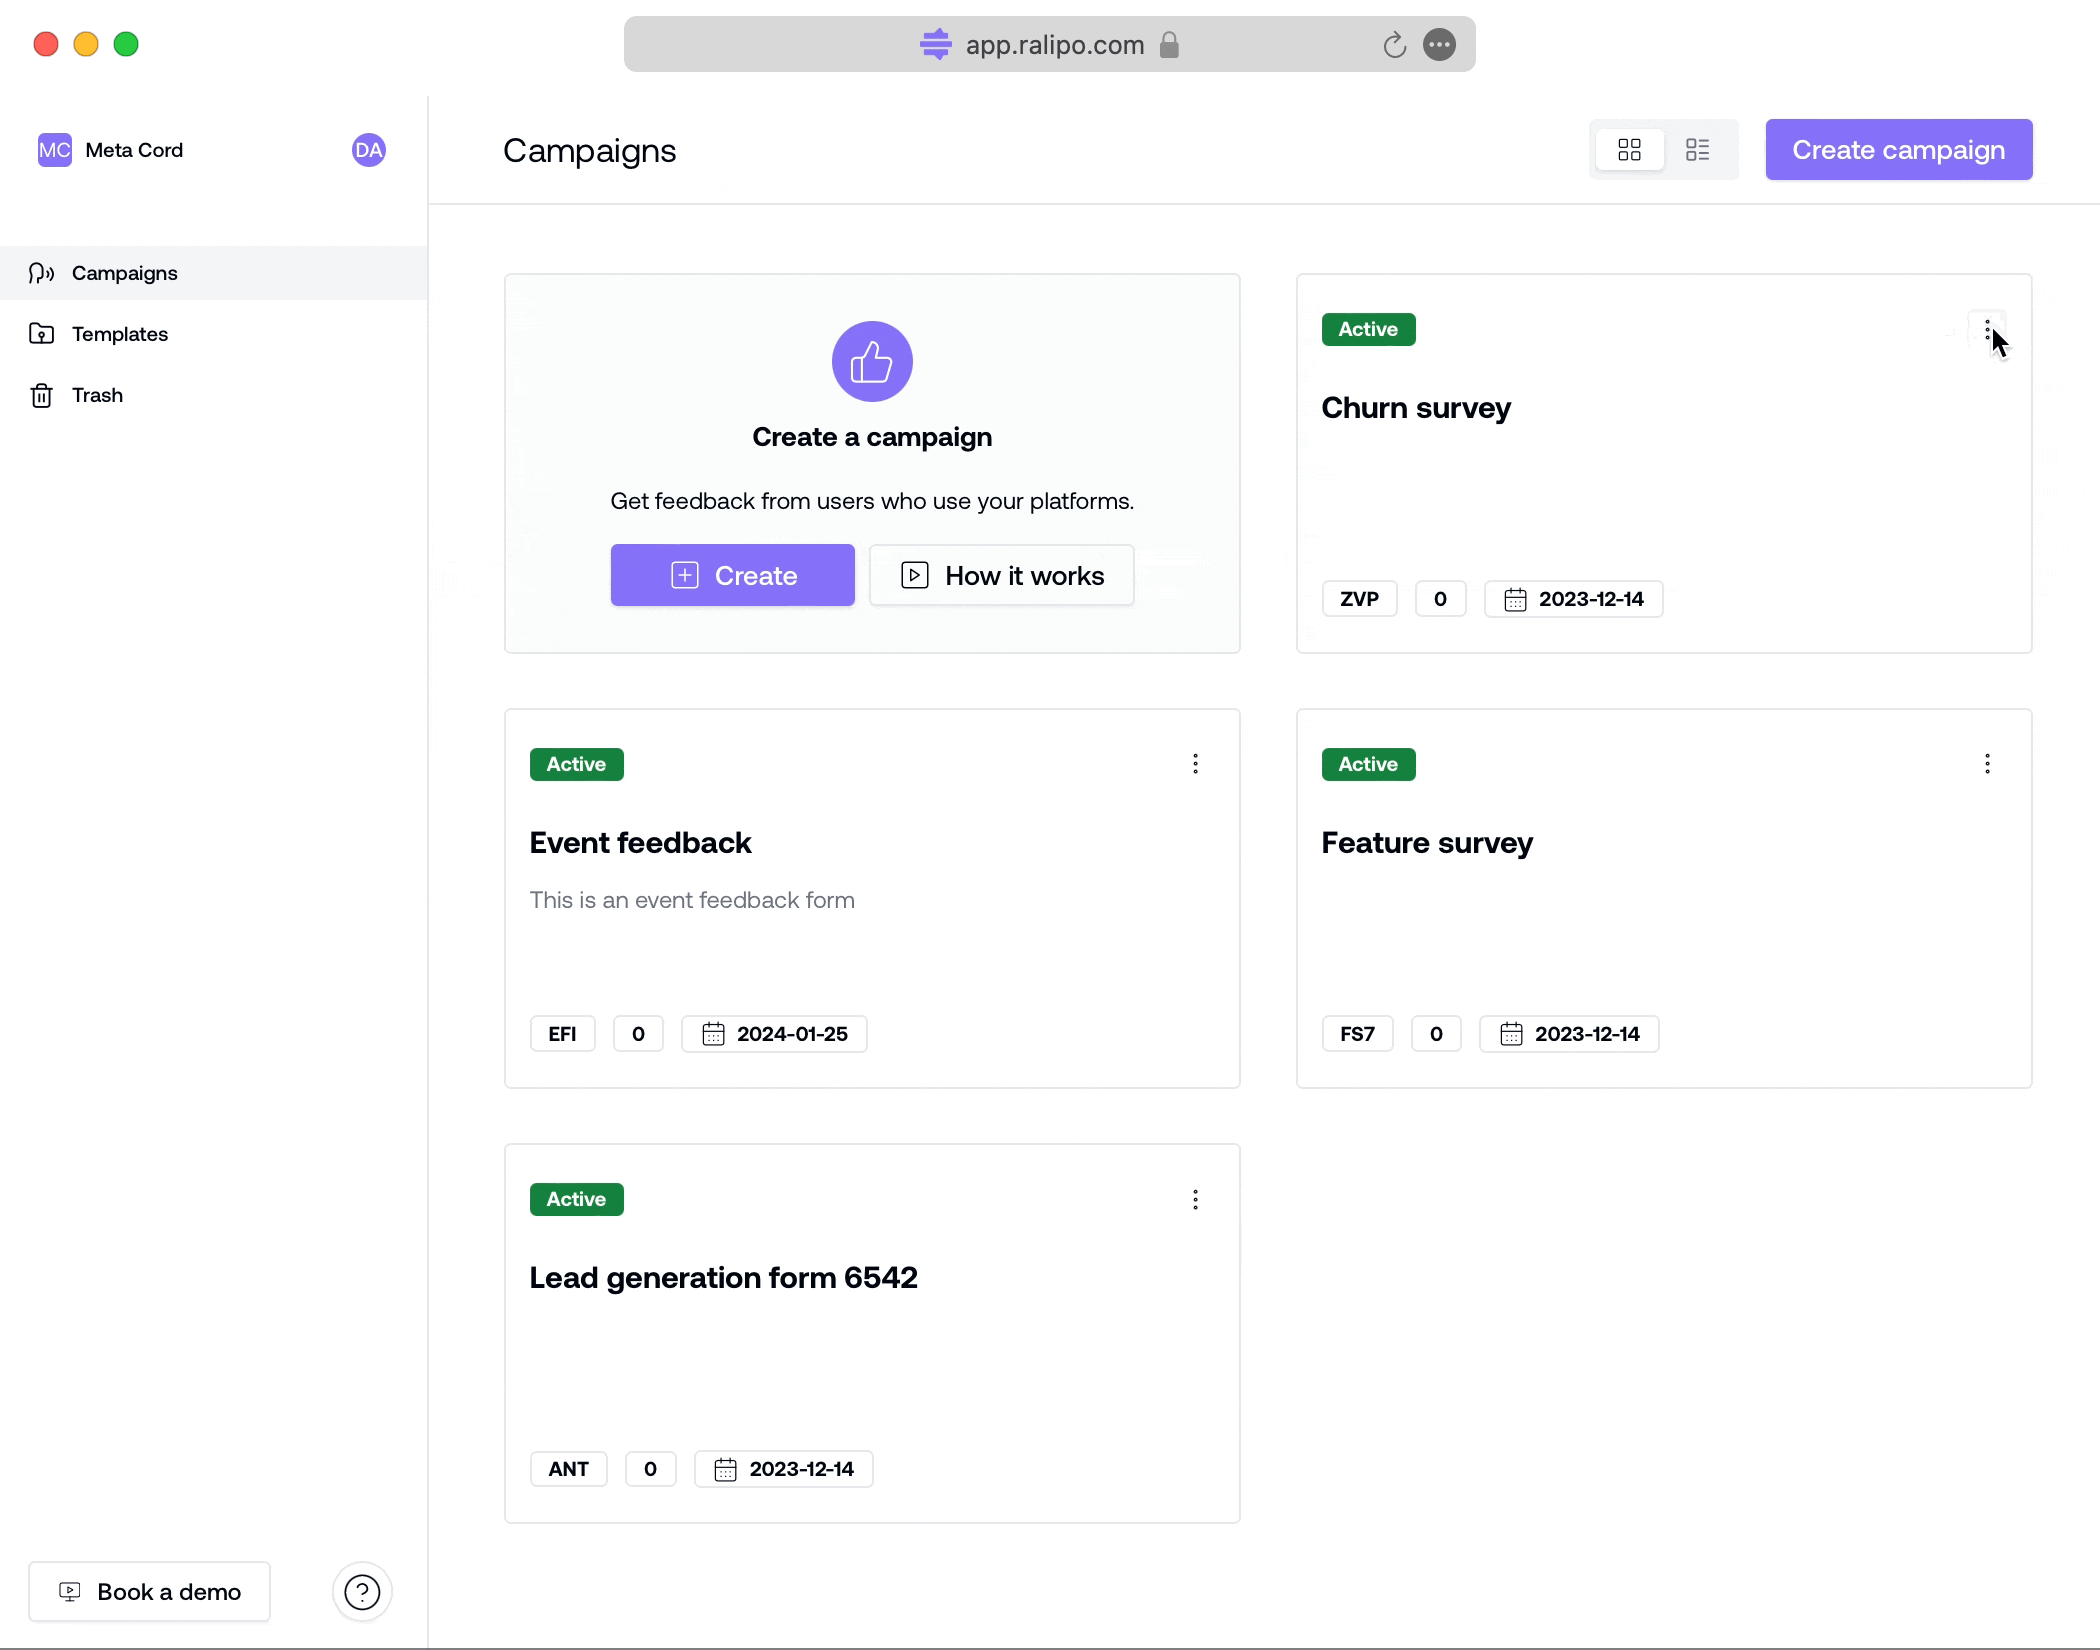
-
View: This option provides you with immediate access to all responses from a specific campaign by an app user. -
Rename: Allows you to modify details like campaign name and description. -
Edit Form: With this option you can make custom changes (such as addition and reorder of blocks) to a campaign form. You can also decide the styling and integrations you want to add to the campaign form. -
Delete: This option enables you to temporarily remove a campaign from your user account.
Items deleted are moved to Trash